The sun is hard on
wiper blades when they sit and bake against the windshield for several weeks
while one is on a job or visiting an area for an extended period of time. Sun
and birds can be equally as hard on the side mirrors and their chrome finish.
Most people buy covers to place over them for protection. They can be purchased
for anywhere from $25.00 to $60.00 for a set, online or at the RV store. I decided to make
my own. It turned out to be a simple sewing project that I completed for $11.00 in fabric and supplies I had on hand.
Here are some simple instructions with a few pictures to
guide you along if you want to make your own.
I went to JoAnn Fabrics and bought a yard of Outdoor Fabric.
This type of fabric is designed to hold up to the elements and dries quickly so
as not to mold or draw moisture to the surface it is protecting. It is the same
fabric that outdoor furniture cushions are covered in. The patterns and colors
are nearly endless. That’s one of the best things about making your own. Typically
JoAnn’s has either 50% 0ff or a coupon to grant 40% off a regular priced
item. I hit the store on a 50% off week and got the yard of fabric for
$10.99. I used Dual Duty thread that I
had in my vast collection of threads. It is a little heavier than normal thread
that you use for normal projects.
To make my covers I used:
o
1 yard of outdoor fabric
o
8” Velcro Strips
o
Dual Duty Thread matching the fabric I chose
Wiper Cover Instructions:
1.
Measure the length of your wipers and cut your fabric 1” longer than the total length and 5” wide. You will need 2 panels
2. Press and stitch a finished edge ¼” wide the length of both sides of each panel.

3. Measure your wiper from the top to where it attaches to the arm. Mine was 12”
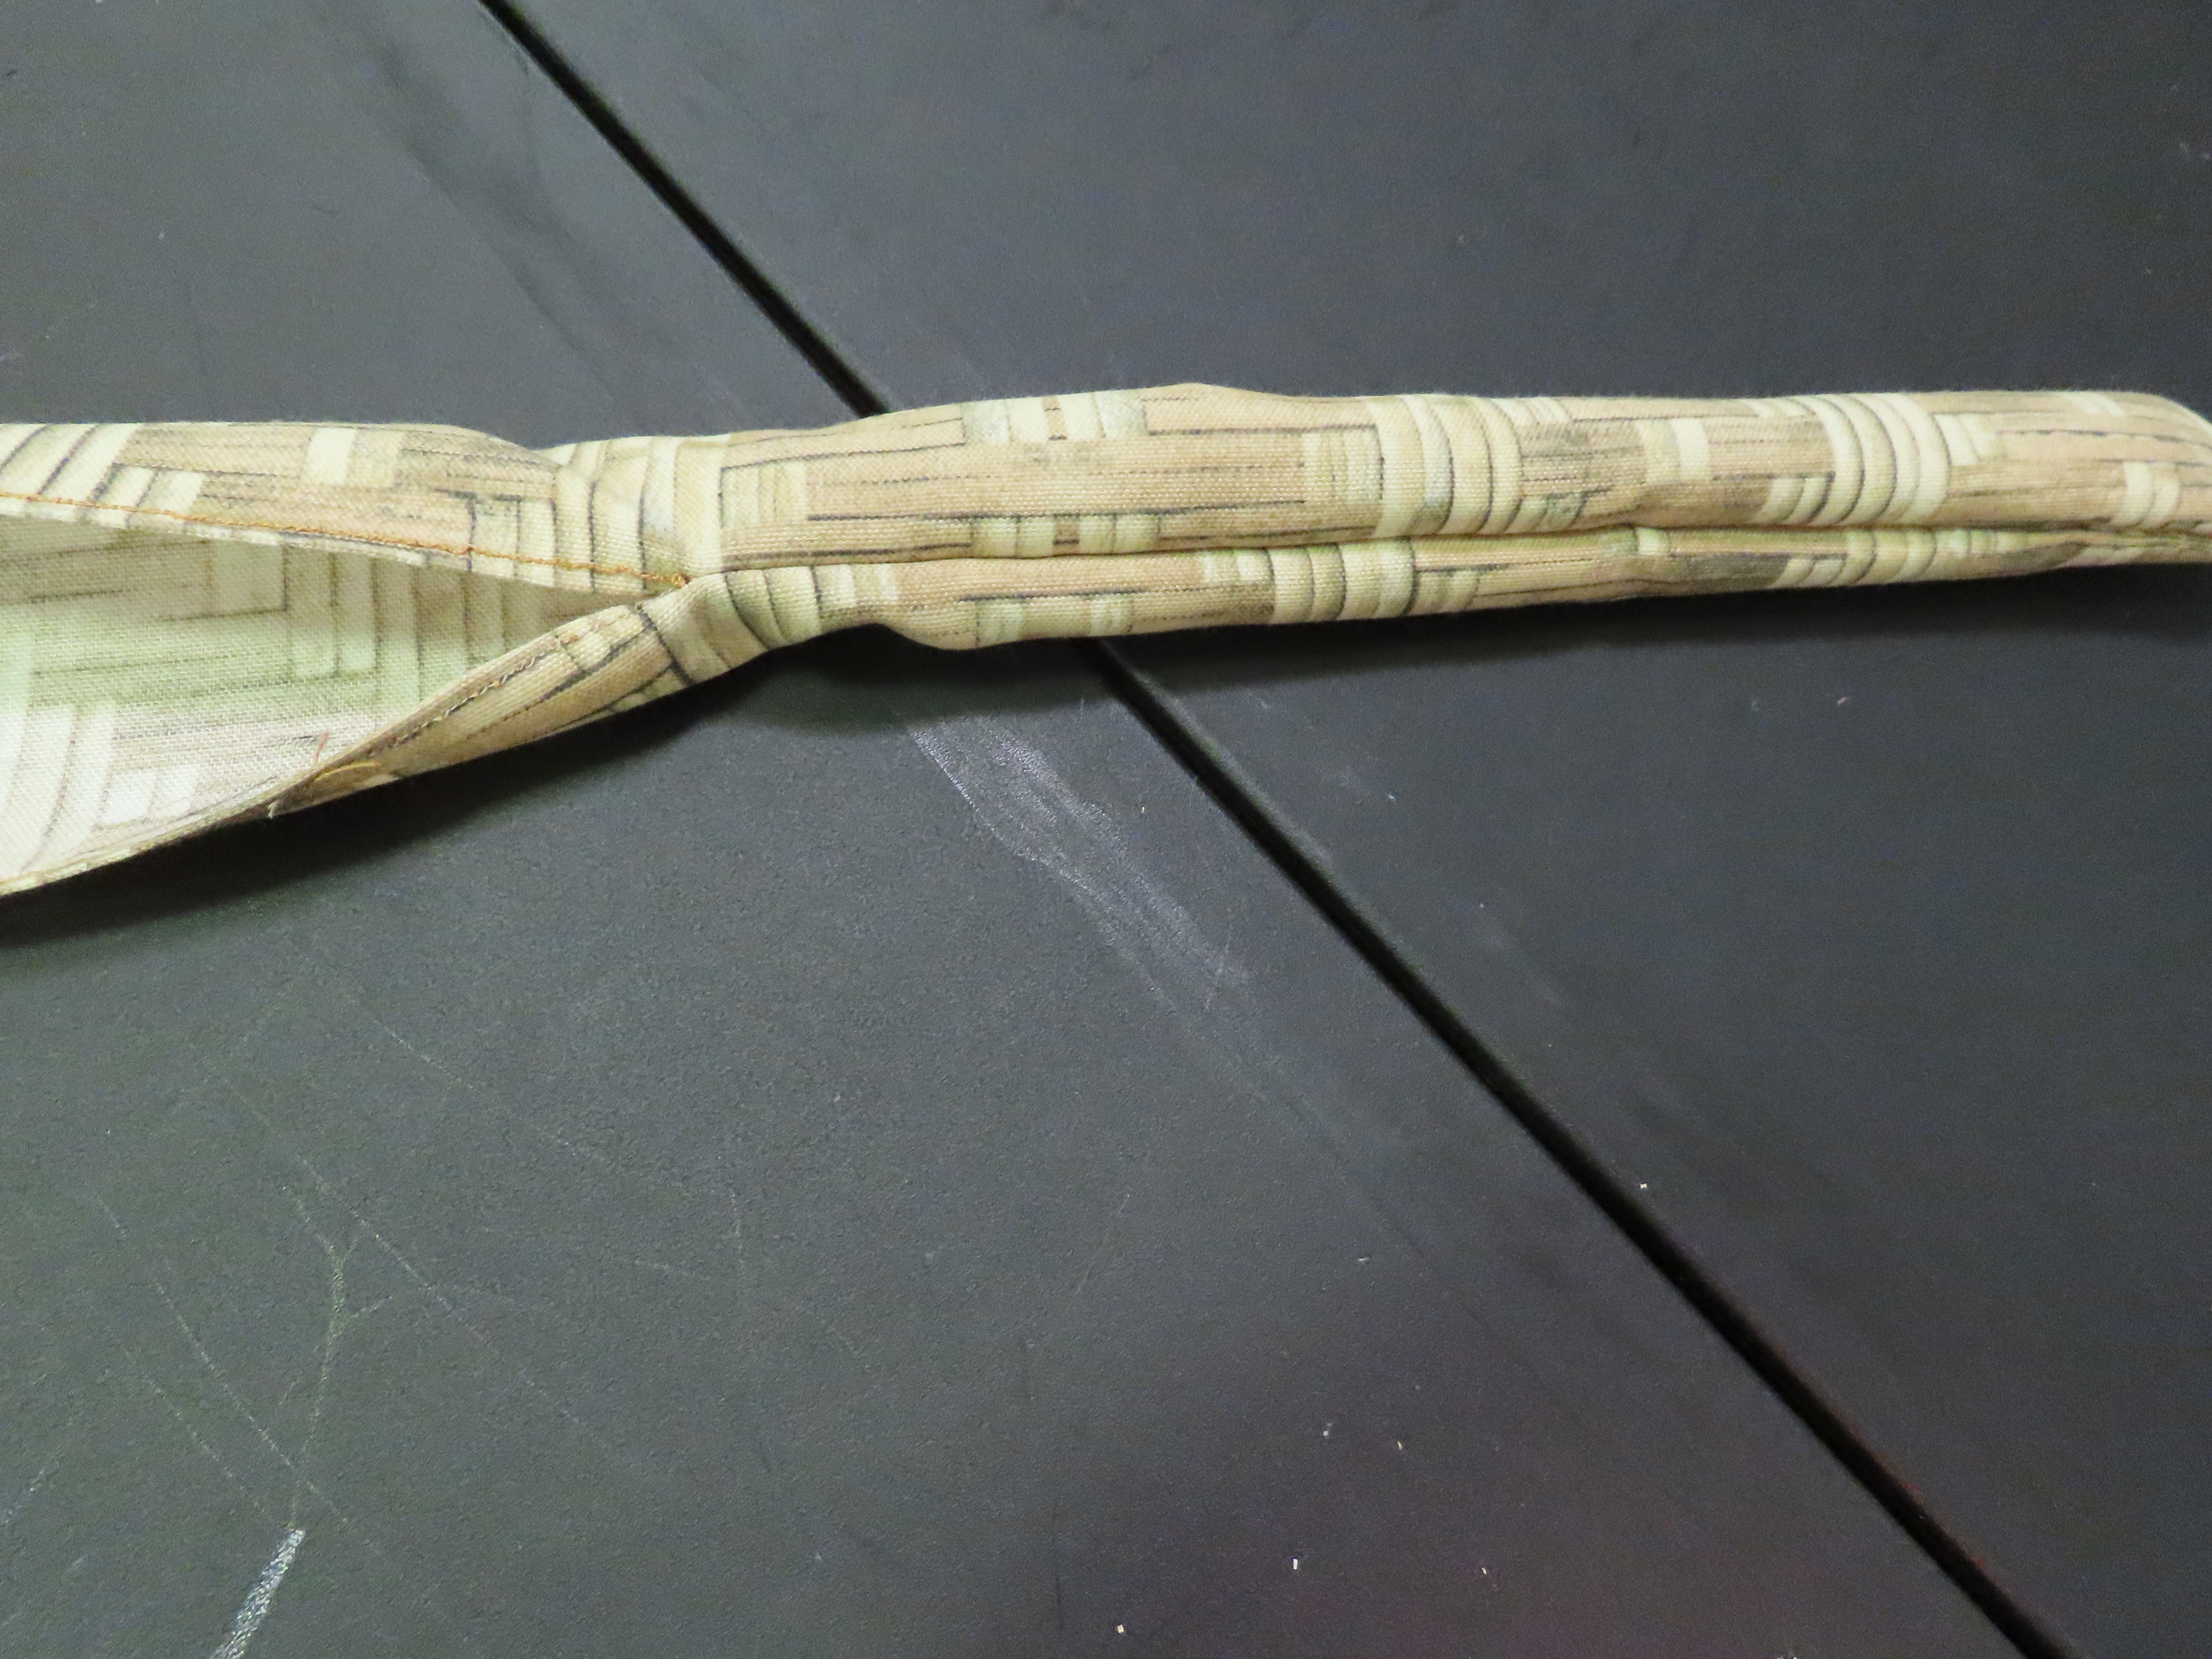
4.
Fold panel in half the long way with right sides
together. Mark the distance from the top to where the wiper blade meets the
arm. Sew to that mark and turn the panel inside out.
5.
You will have a pocket on the top half and an
open bottom half with finished edges.
6. Sew strips of Velcro near the middle and toward to bottom of the open sides.

7. The cover will slip over the top of the blade and you will use the Velcro to secure it together below the wiper arm.

Mirror Cover Instructions:
1. Measure the Width and Length of your mirrors.
Measure the depth of the mirrors.
a.
The measurement of the depth will be divided by
2 and added to the width of the panels + ½” seam allowance on each side.
b.
My mirrors measured 20” long – 11 “ wide and 7”
deep.
c.
I cut my panels
20” x 15” to allow for the depth of the mirror and seam allowance.
2.
Cut 4 panels with the measurements you calculate
based on the size of your mirrors.
a.
Note: You
made need more or less than a yard of fabric
depending on the size of your mirrors and wiper blades and width of the fabric. Take your measurements
and determine how much fabric you need before you head to the fabric store. You
may also need to account for pattern and repeat of the pattern depending on
what you choose.
3. Sew a ¼” finished edge along the
bottom side of each panel
4. Place right sides together and start on at the bottom edge of one side. Sew up one side to the top, I made a curved turn instead of a square corner since my mirrors are rounded at the top. Sew across the top and down the other side ending at the bottom on the other side. Turn inside out and drop it over the mirror.


I haven’t yet, but may end up adding a small strap at the
bottom to hold it on the mirror. I’ll wait to see if they stay in place in the
wind. I have a little fabric left over to make the straps if I decide I need
them.
In all it was a fun project that took about 2 hours this
morning. I saved around $40.00 and got to pick a fun pattern instead of setteling for plain
brown or tan.
Until Next Time...
No comments:
Post a Comment